After preparation the turquoise paint stripes were applied to the fuselage.
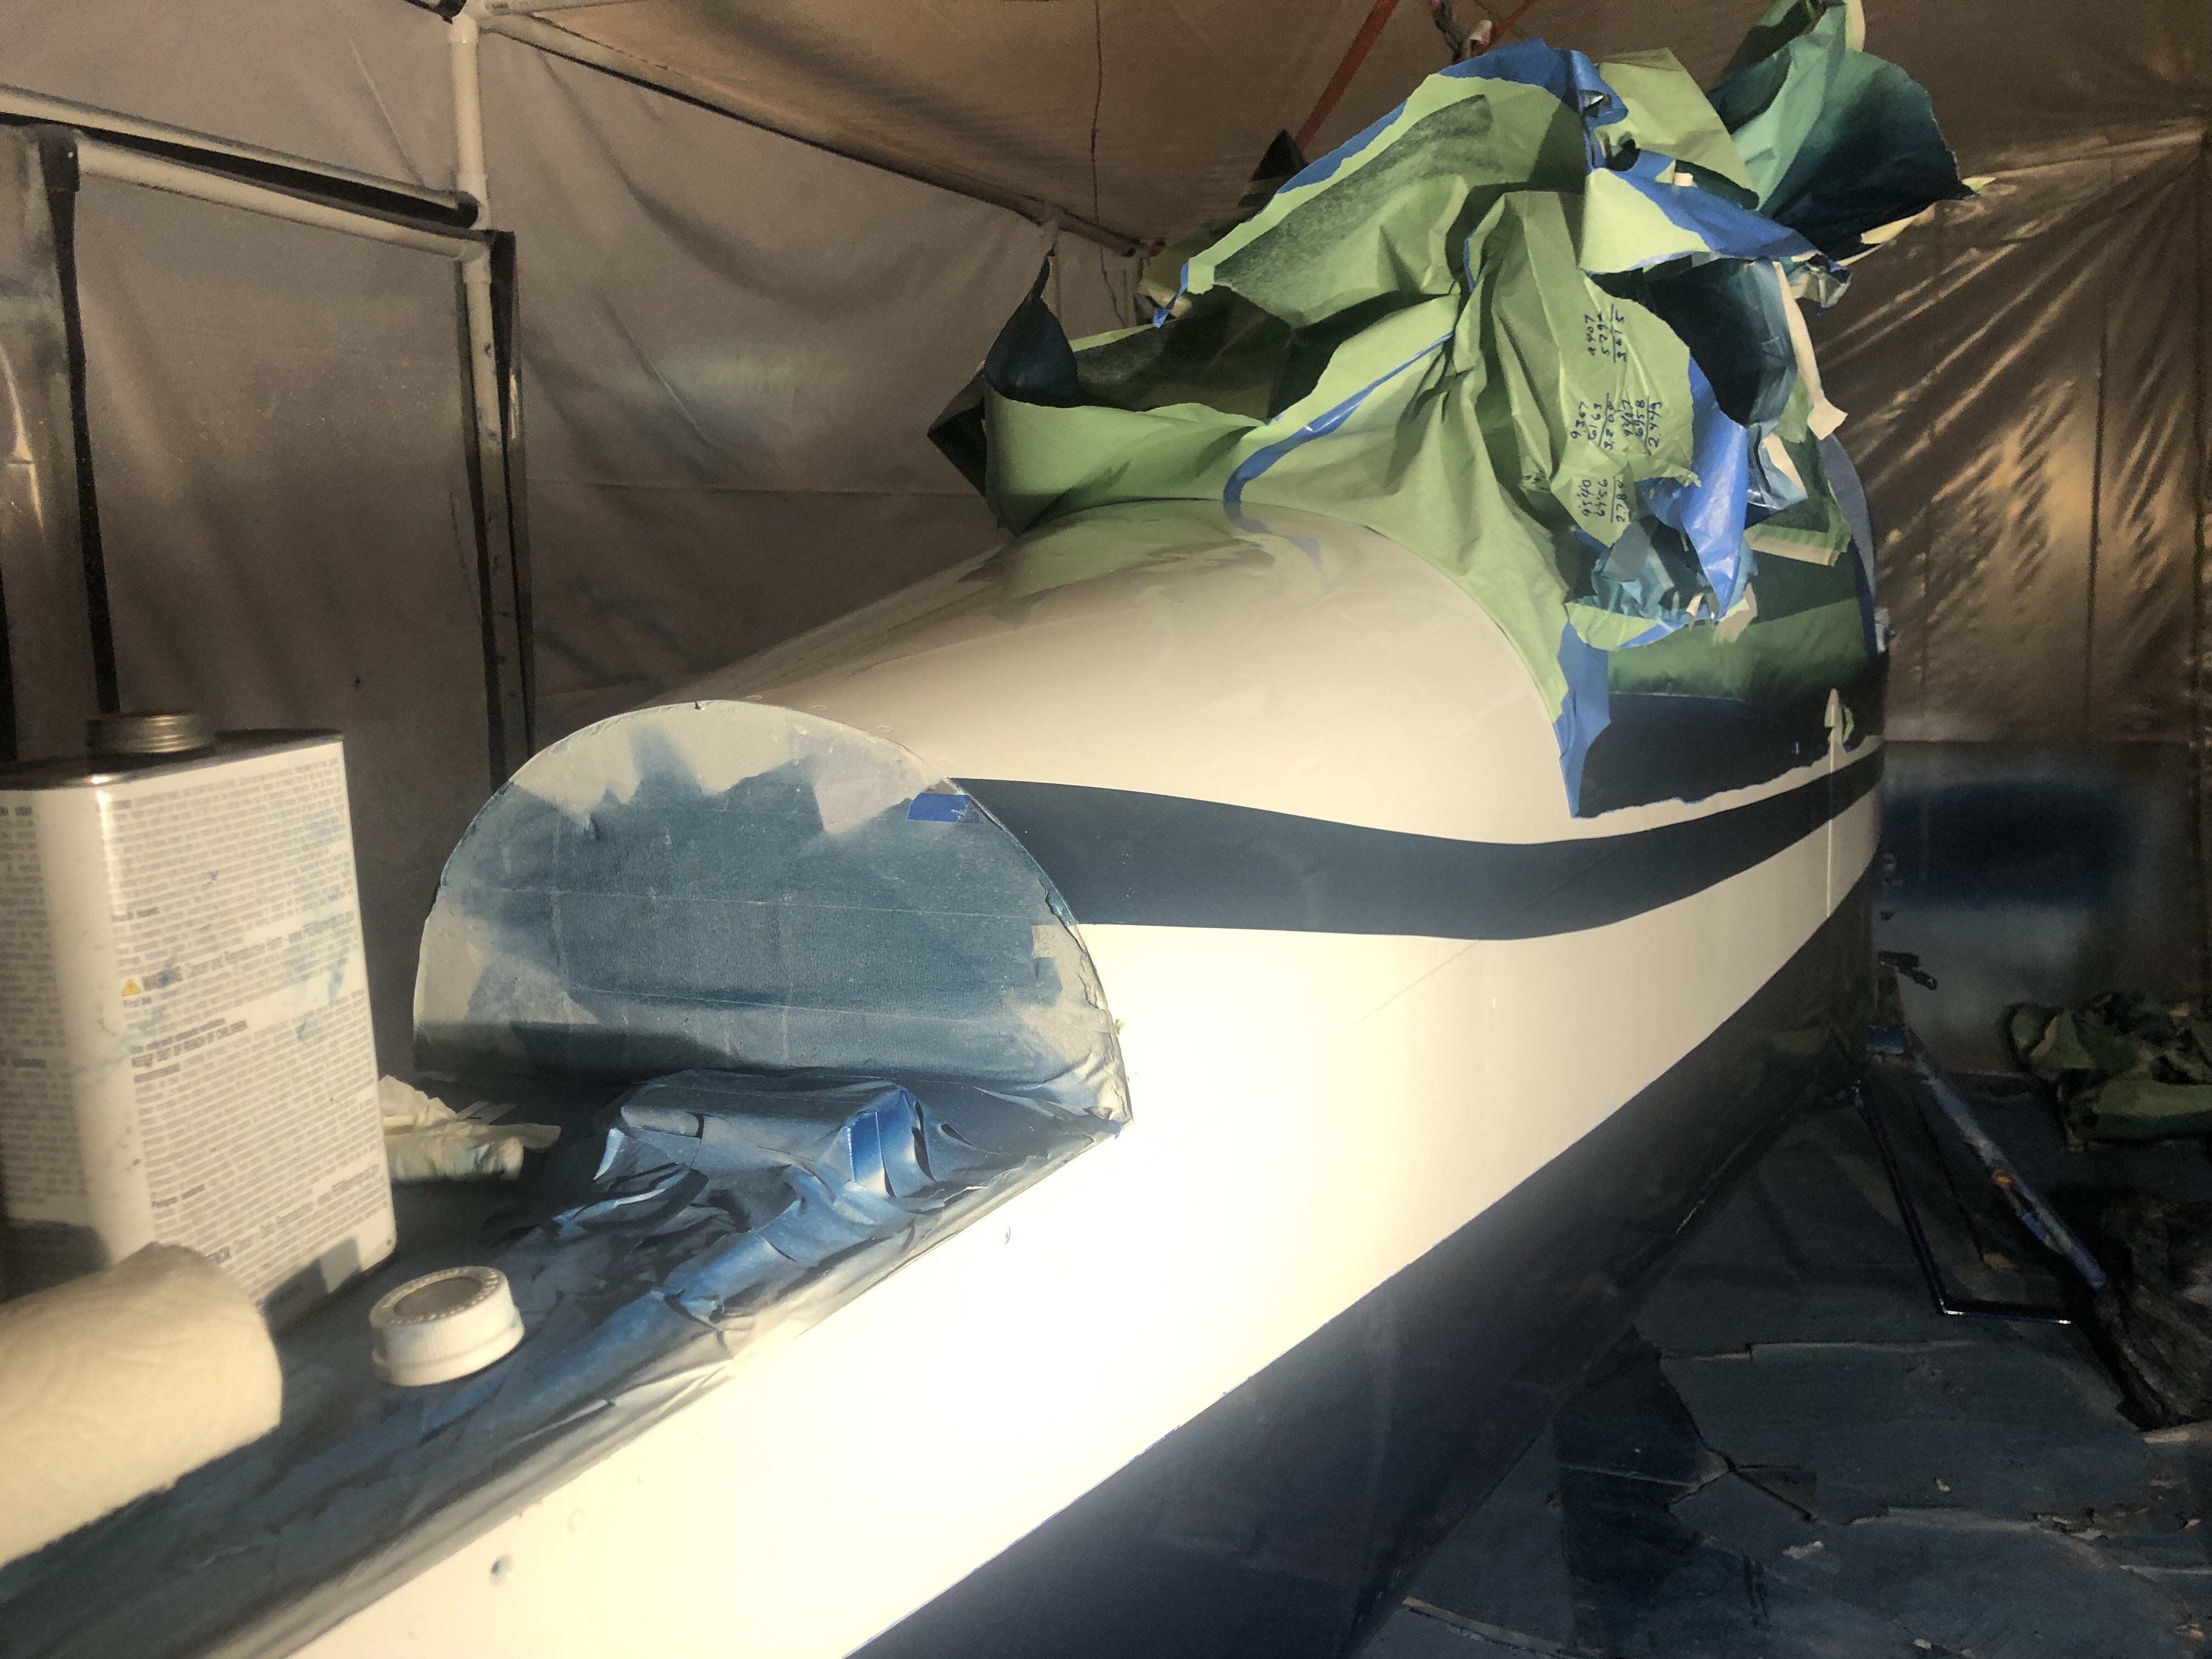
Time: 6 hours.
After preparation the turquoise paint stripes were applied to the fuselage.
Time: 6 hours.
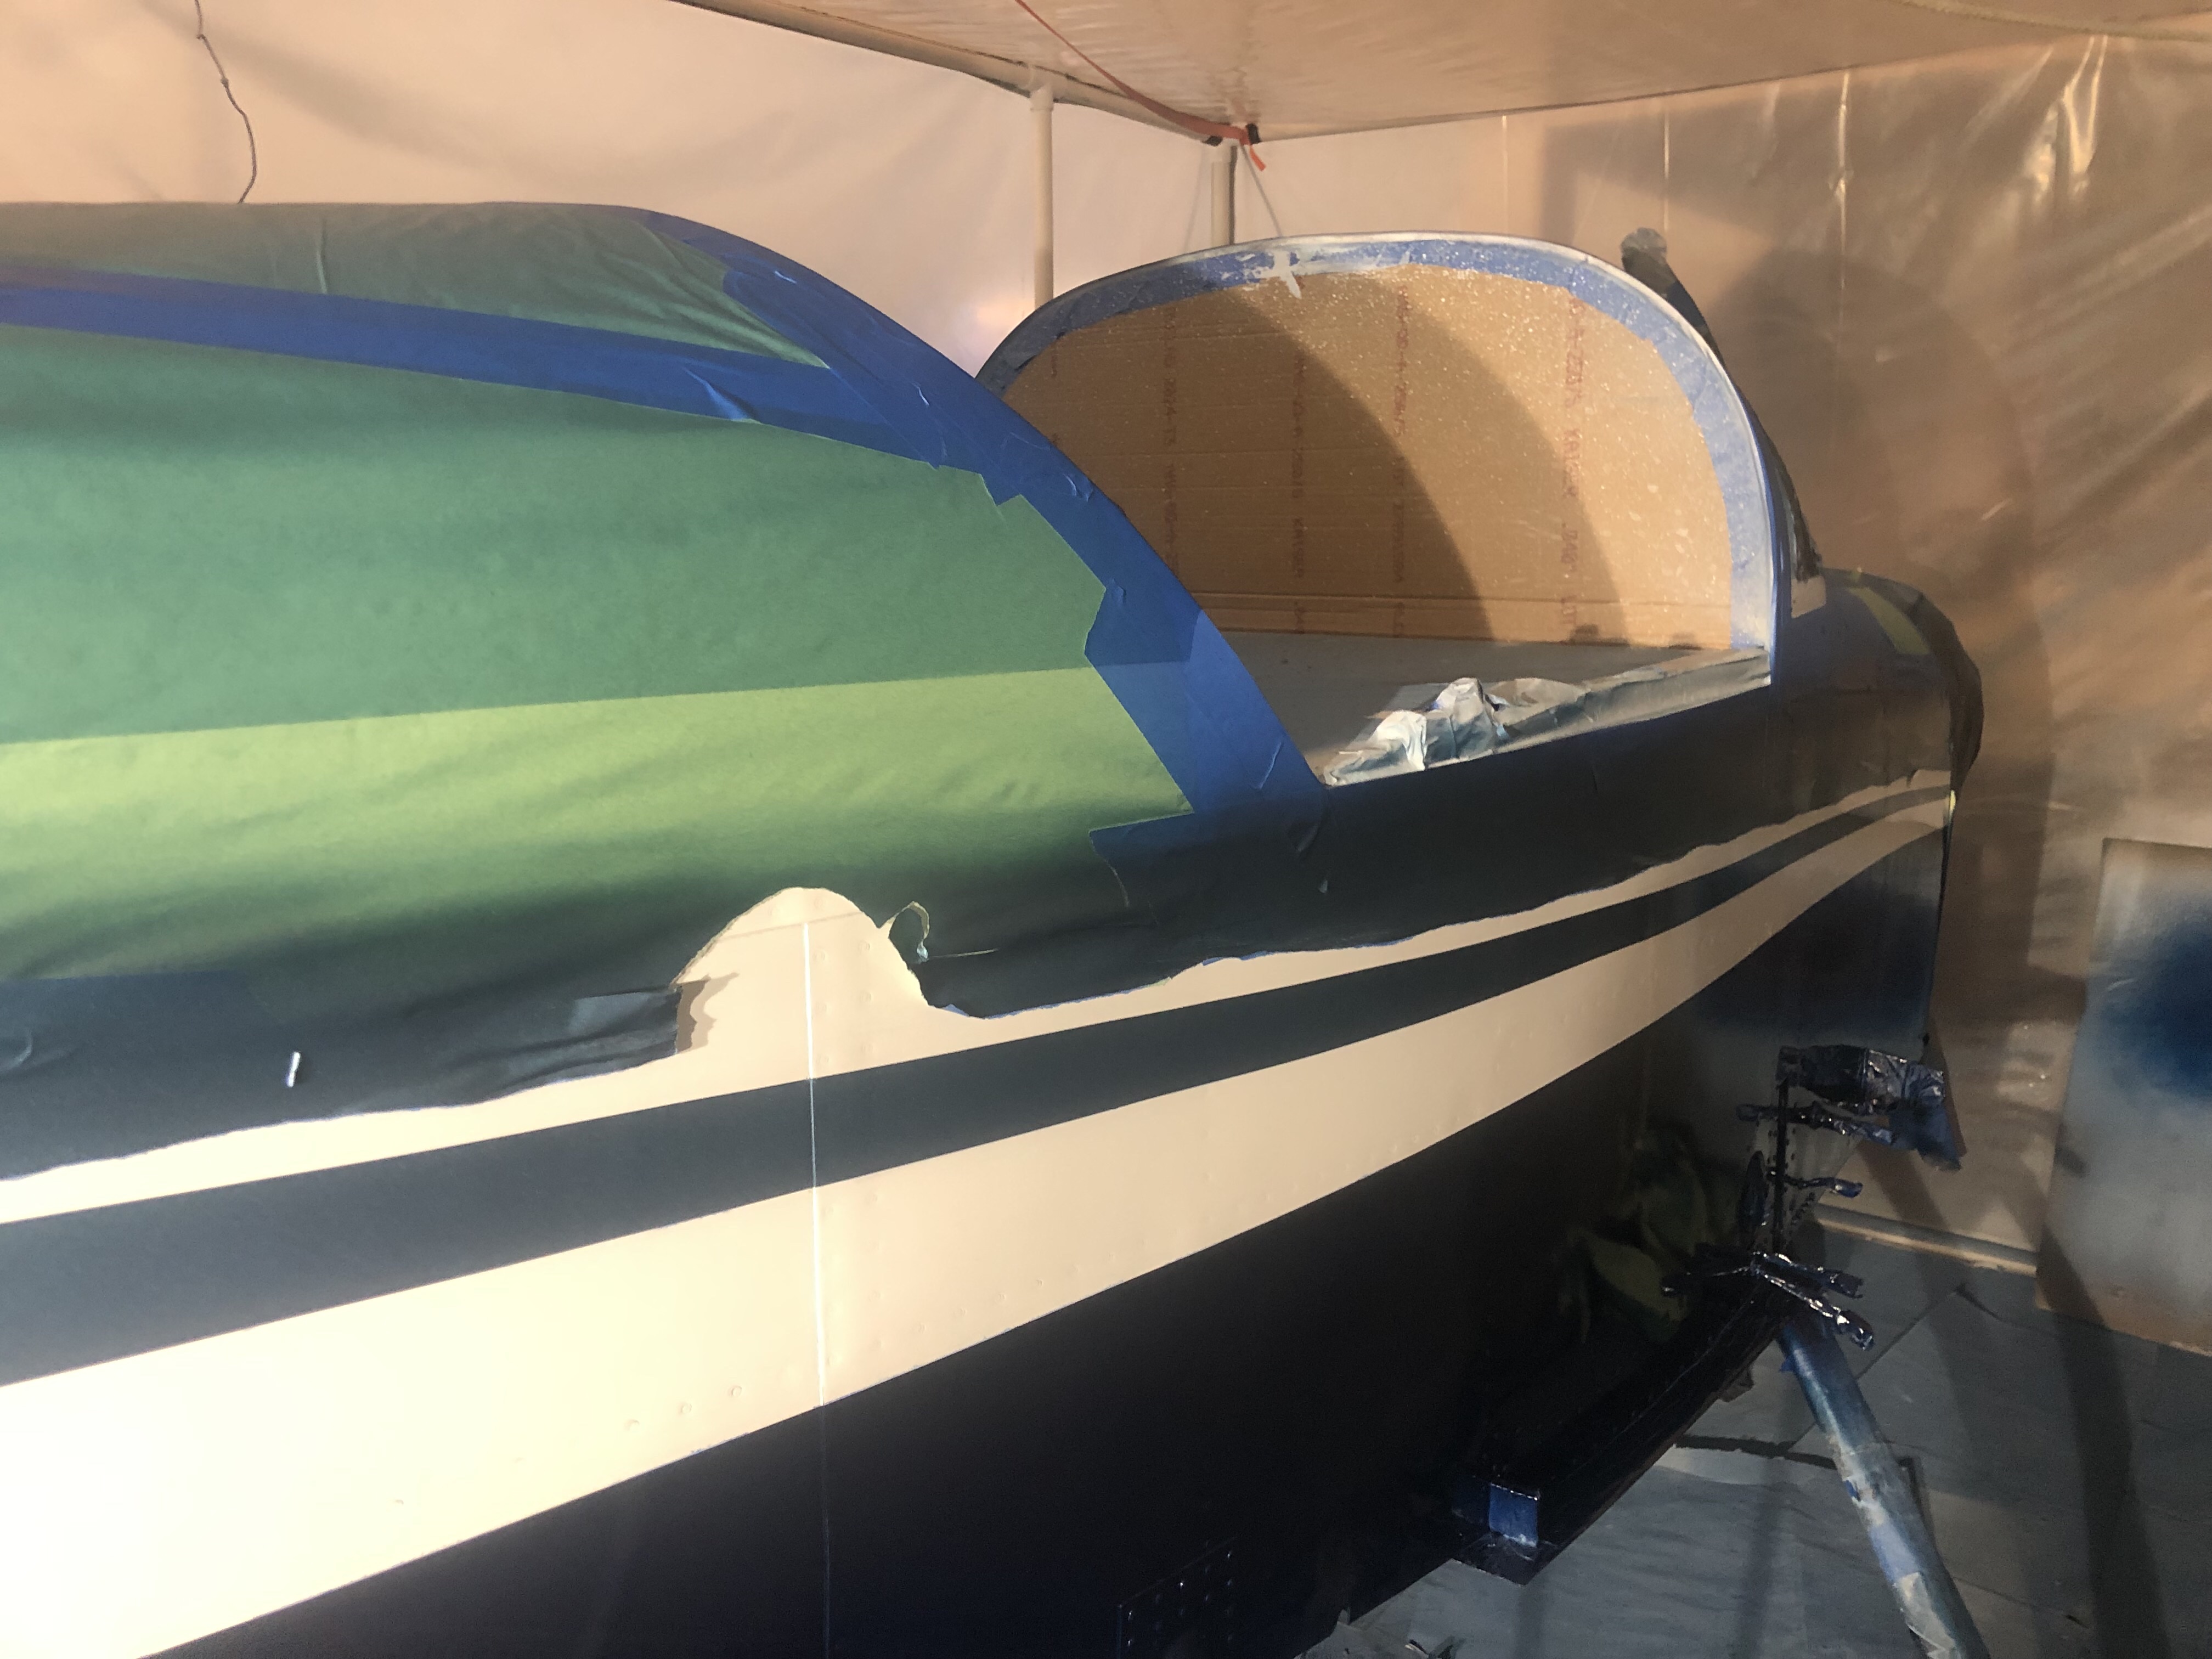
After preparation the dark blue paint was applied to the empennage, fuselage, wings, cowl and wheel pants.
Time: 8 hours.
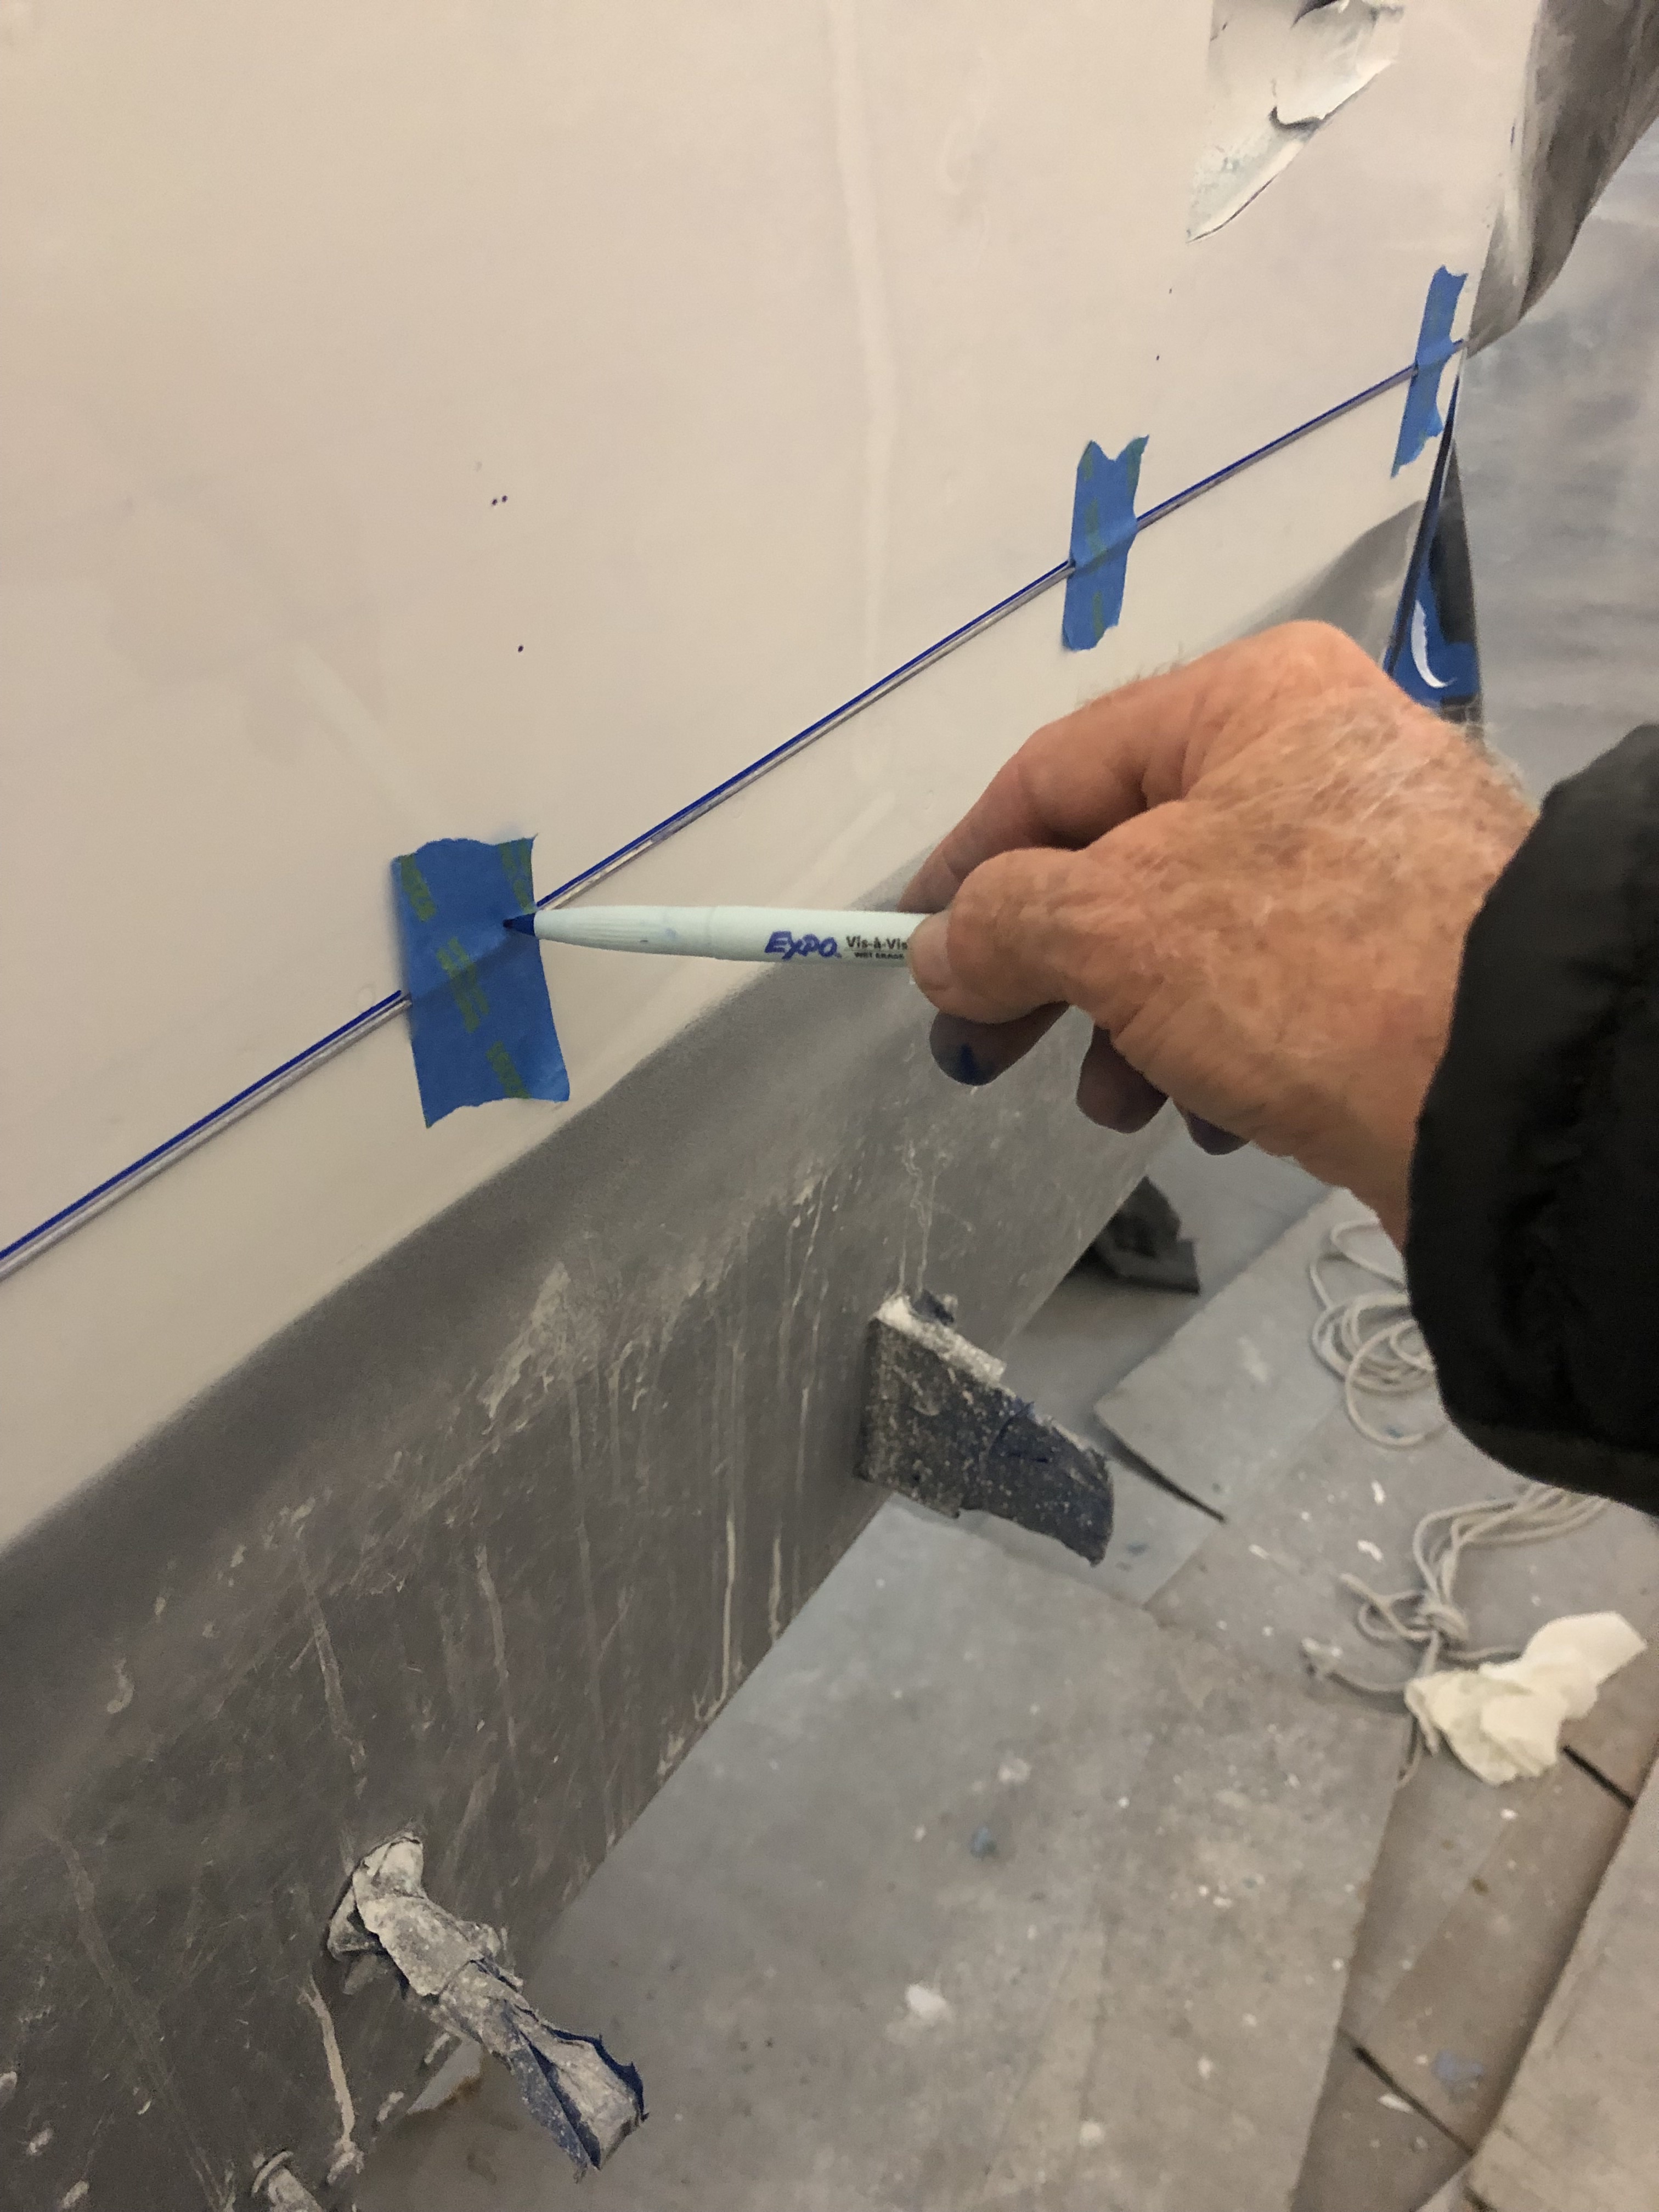
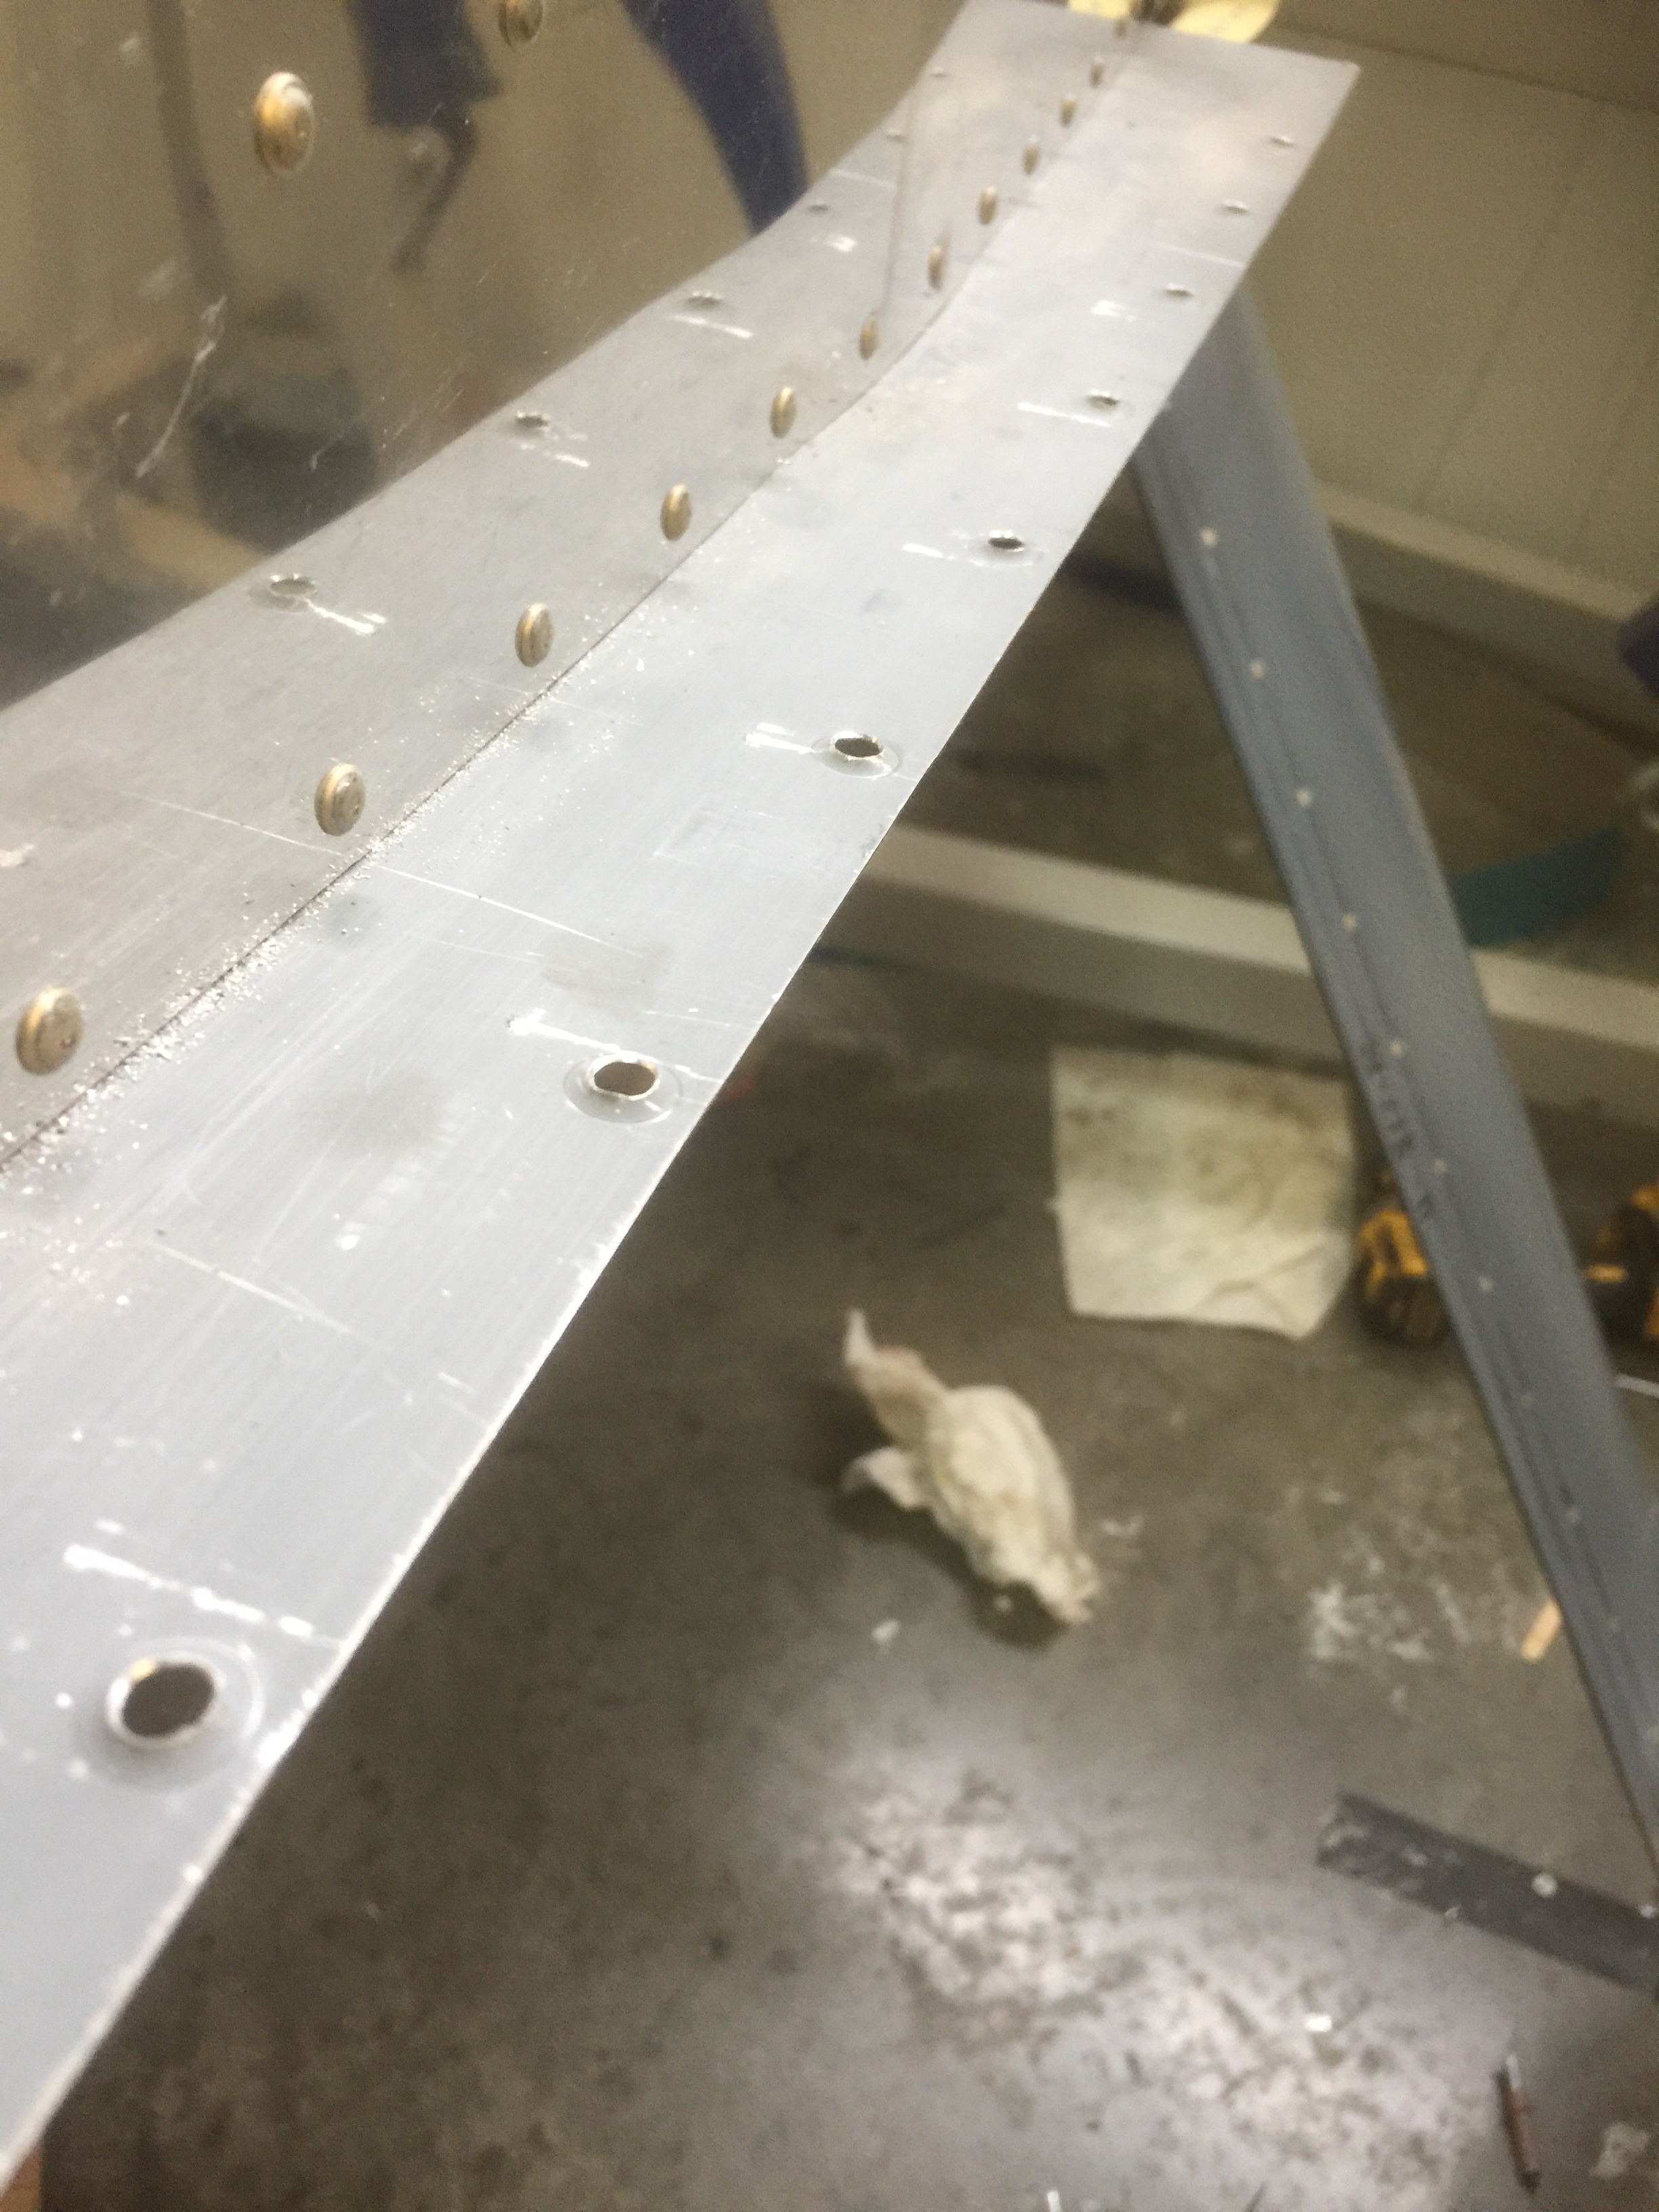
I marked the border between white and blue paint by marking the vertical position every 10 inches on the fuselage, every 4 inches on the wings and empennage and every 2 inches on the wheel pants. These marks were connected using a stiff wire to create a smooth curve with an erasable marking pen. This line was then used to locate the 1/2” flexible vinyl masking tape.
Time: 6 hours.
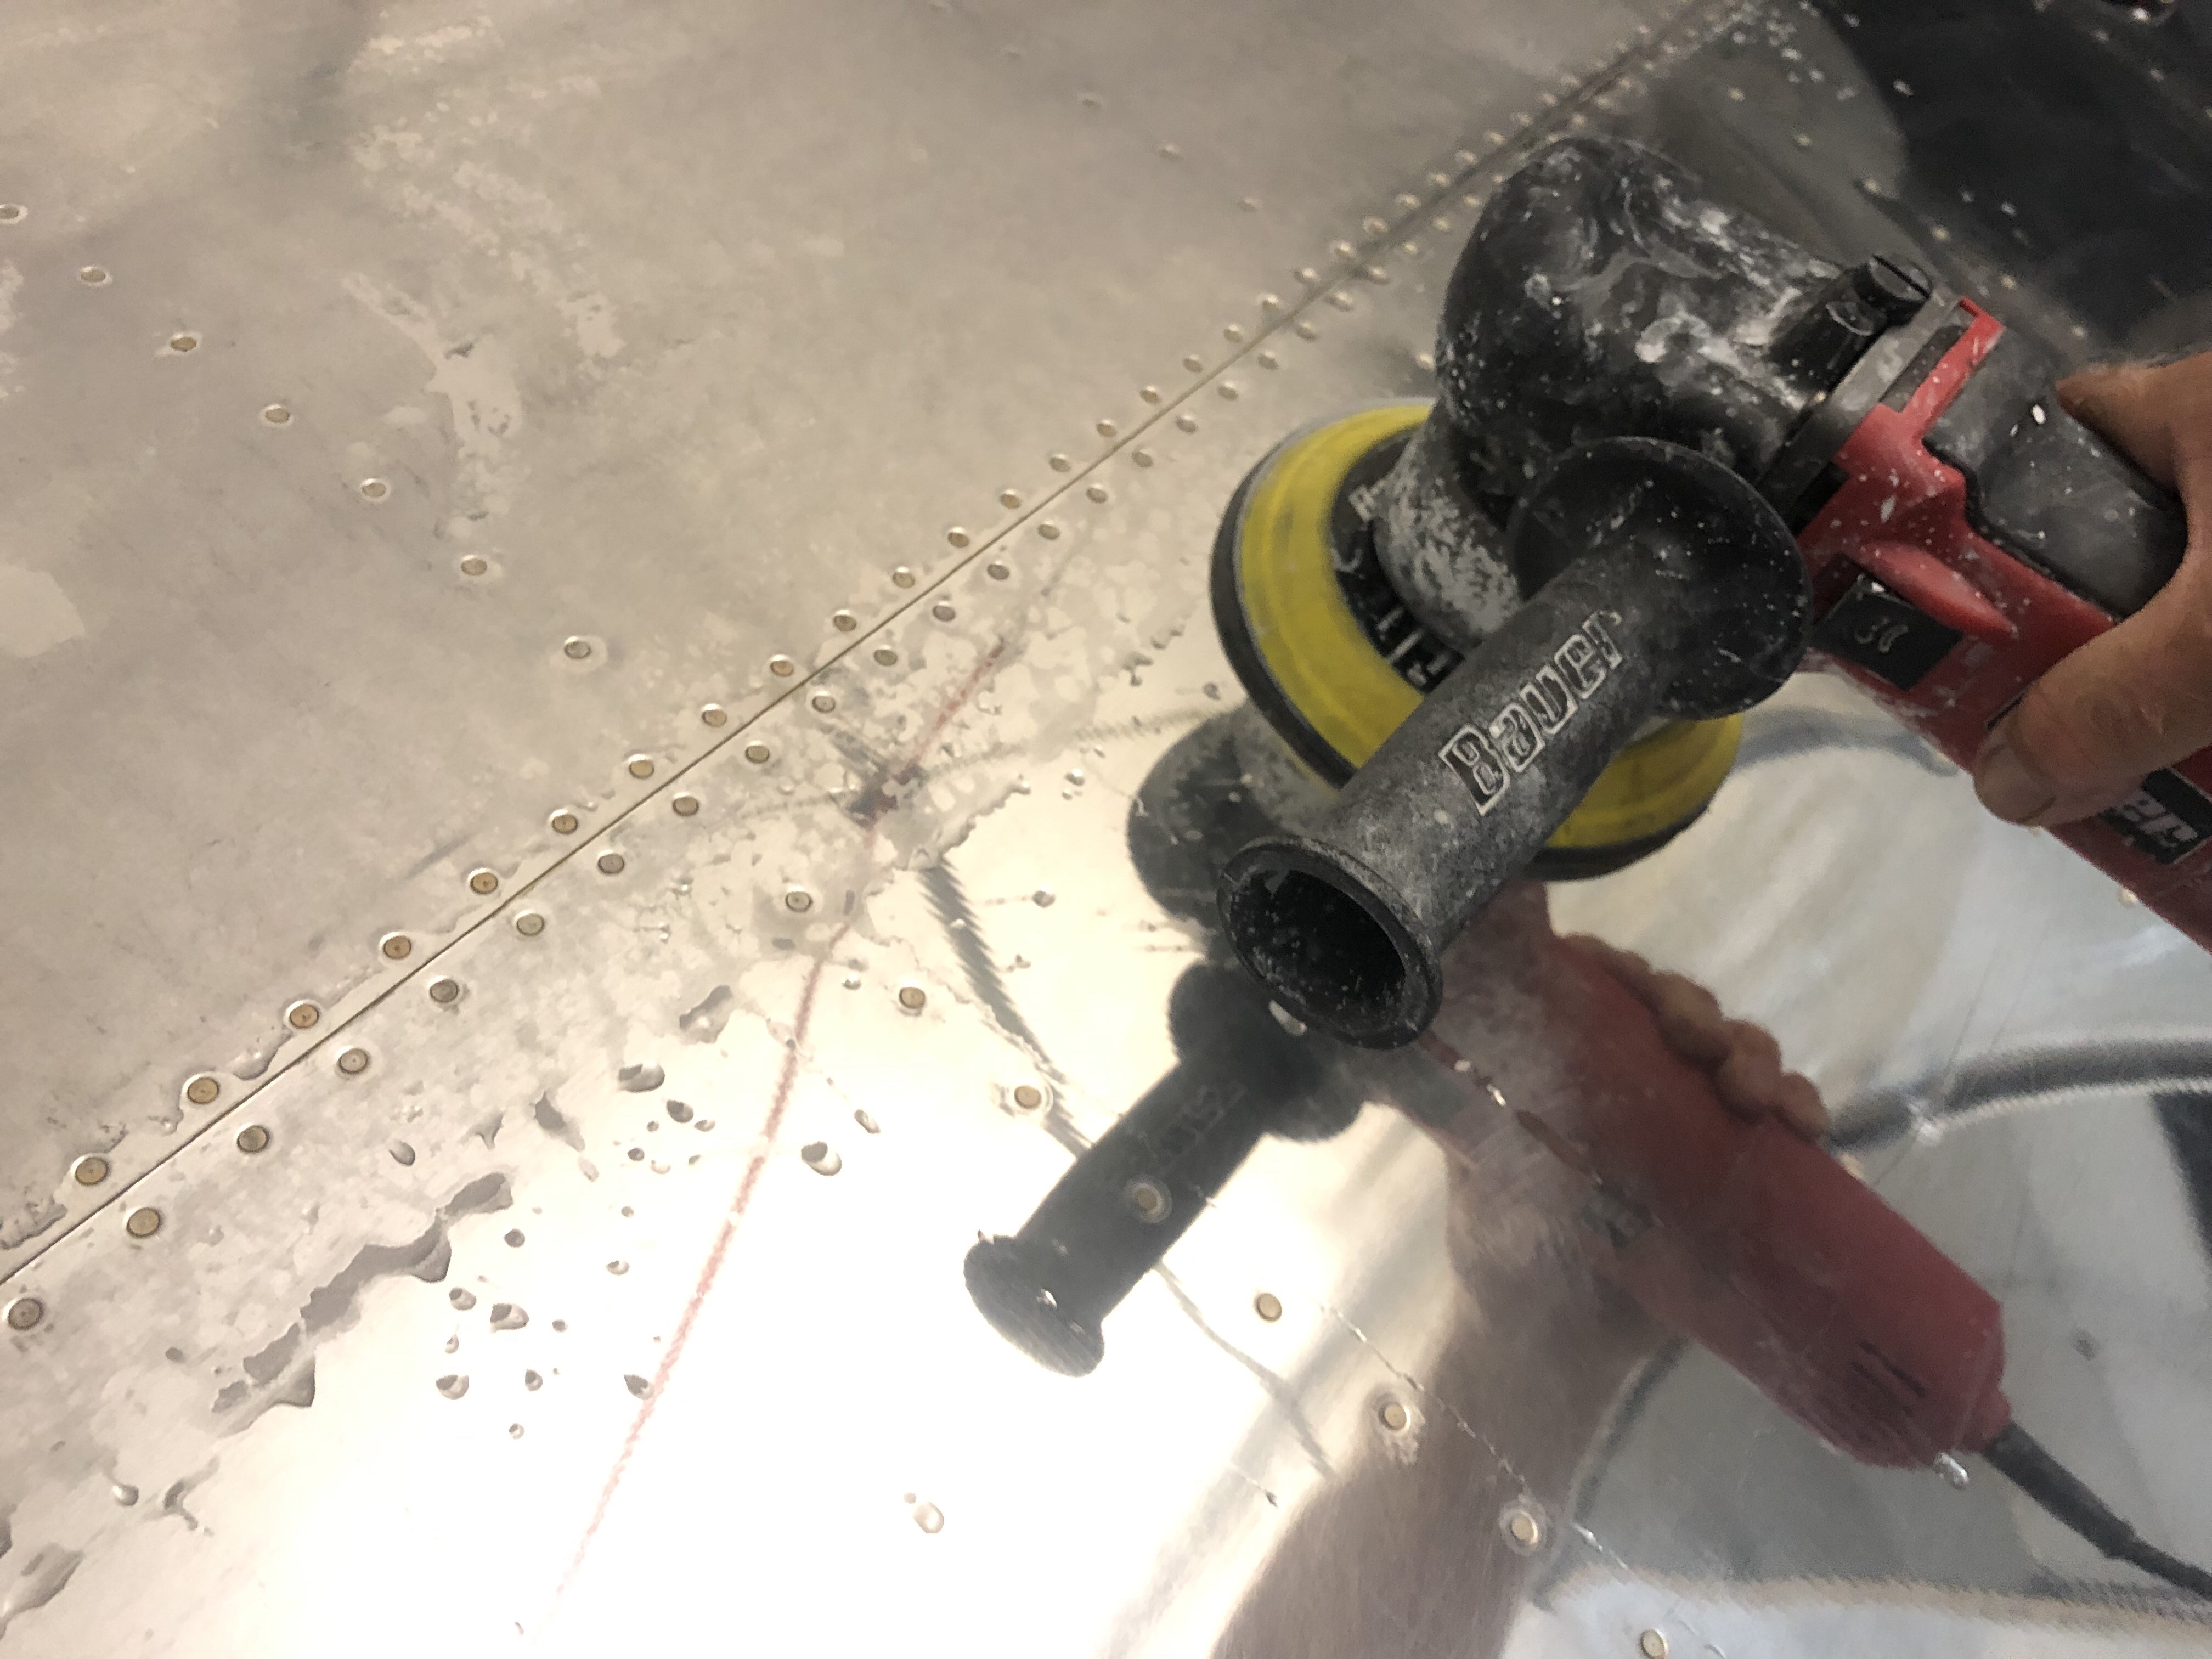
Used 4” PVC pipe to suspend the wings for painting. Permits rotation to improve application angle. Used sander to prepare surface with 400 grit sanding disks.


Time: 4 hours.
I designed and built a heated pitot tube and angle of attack probe.


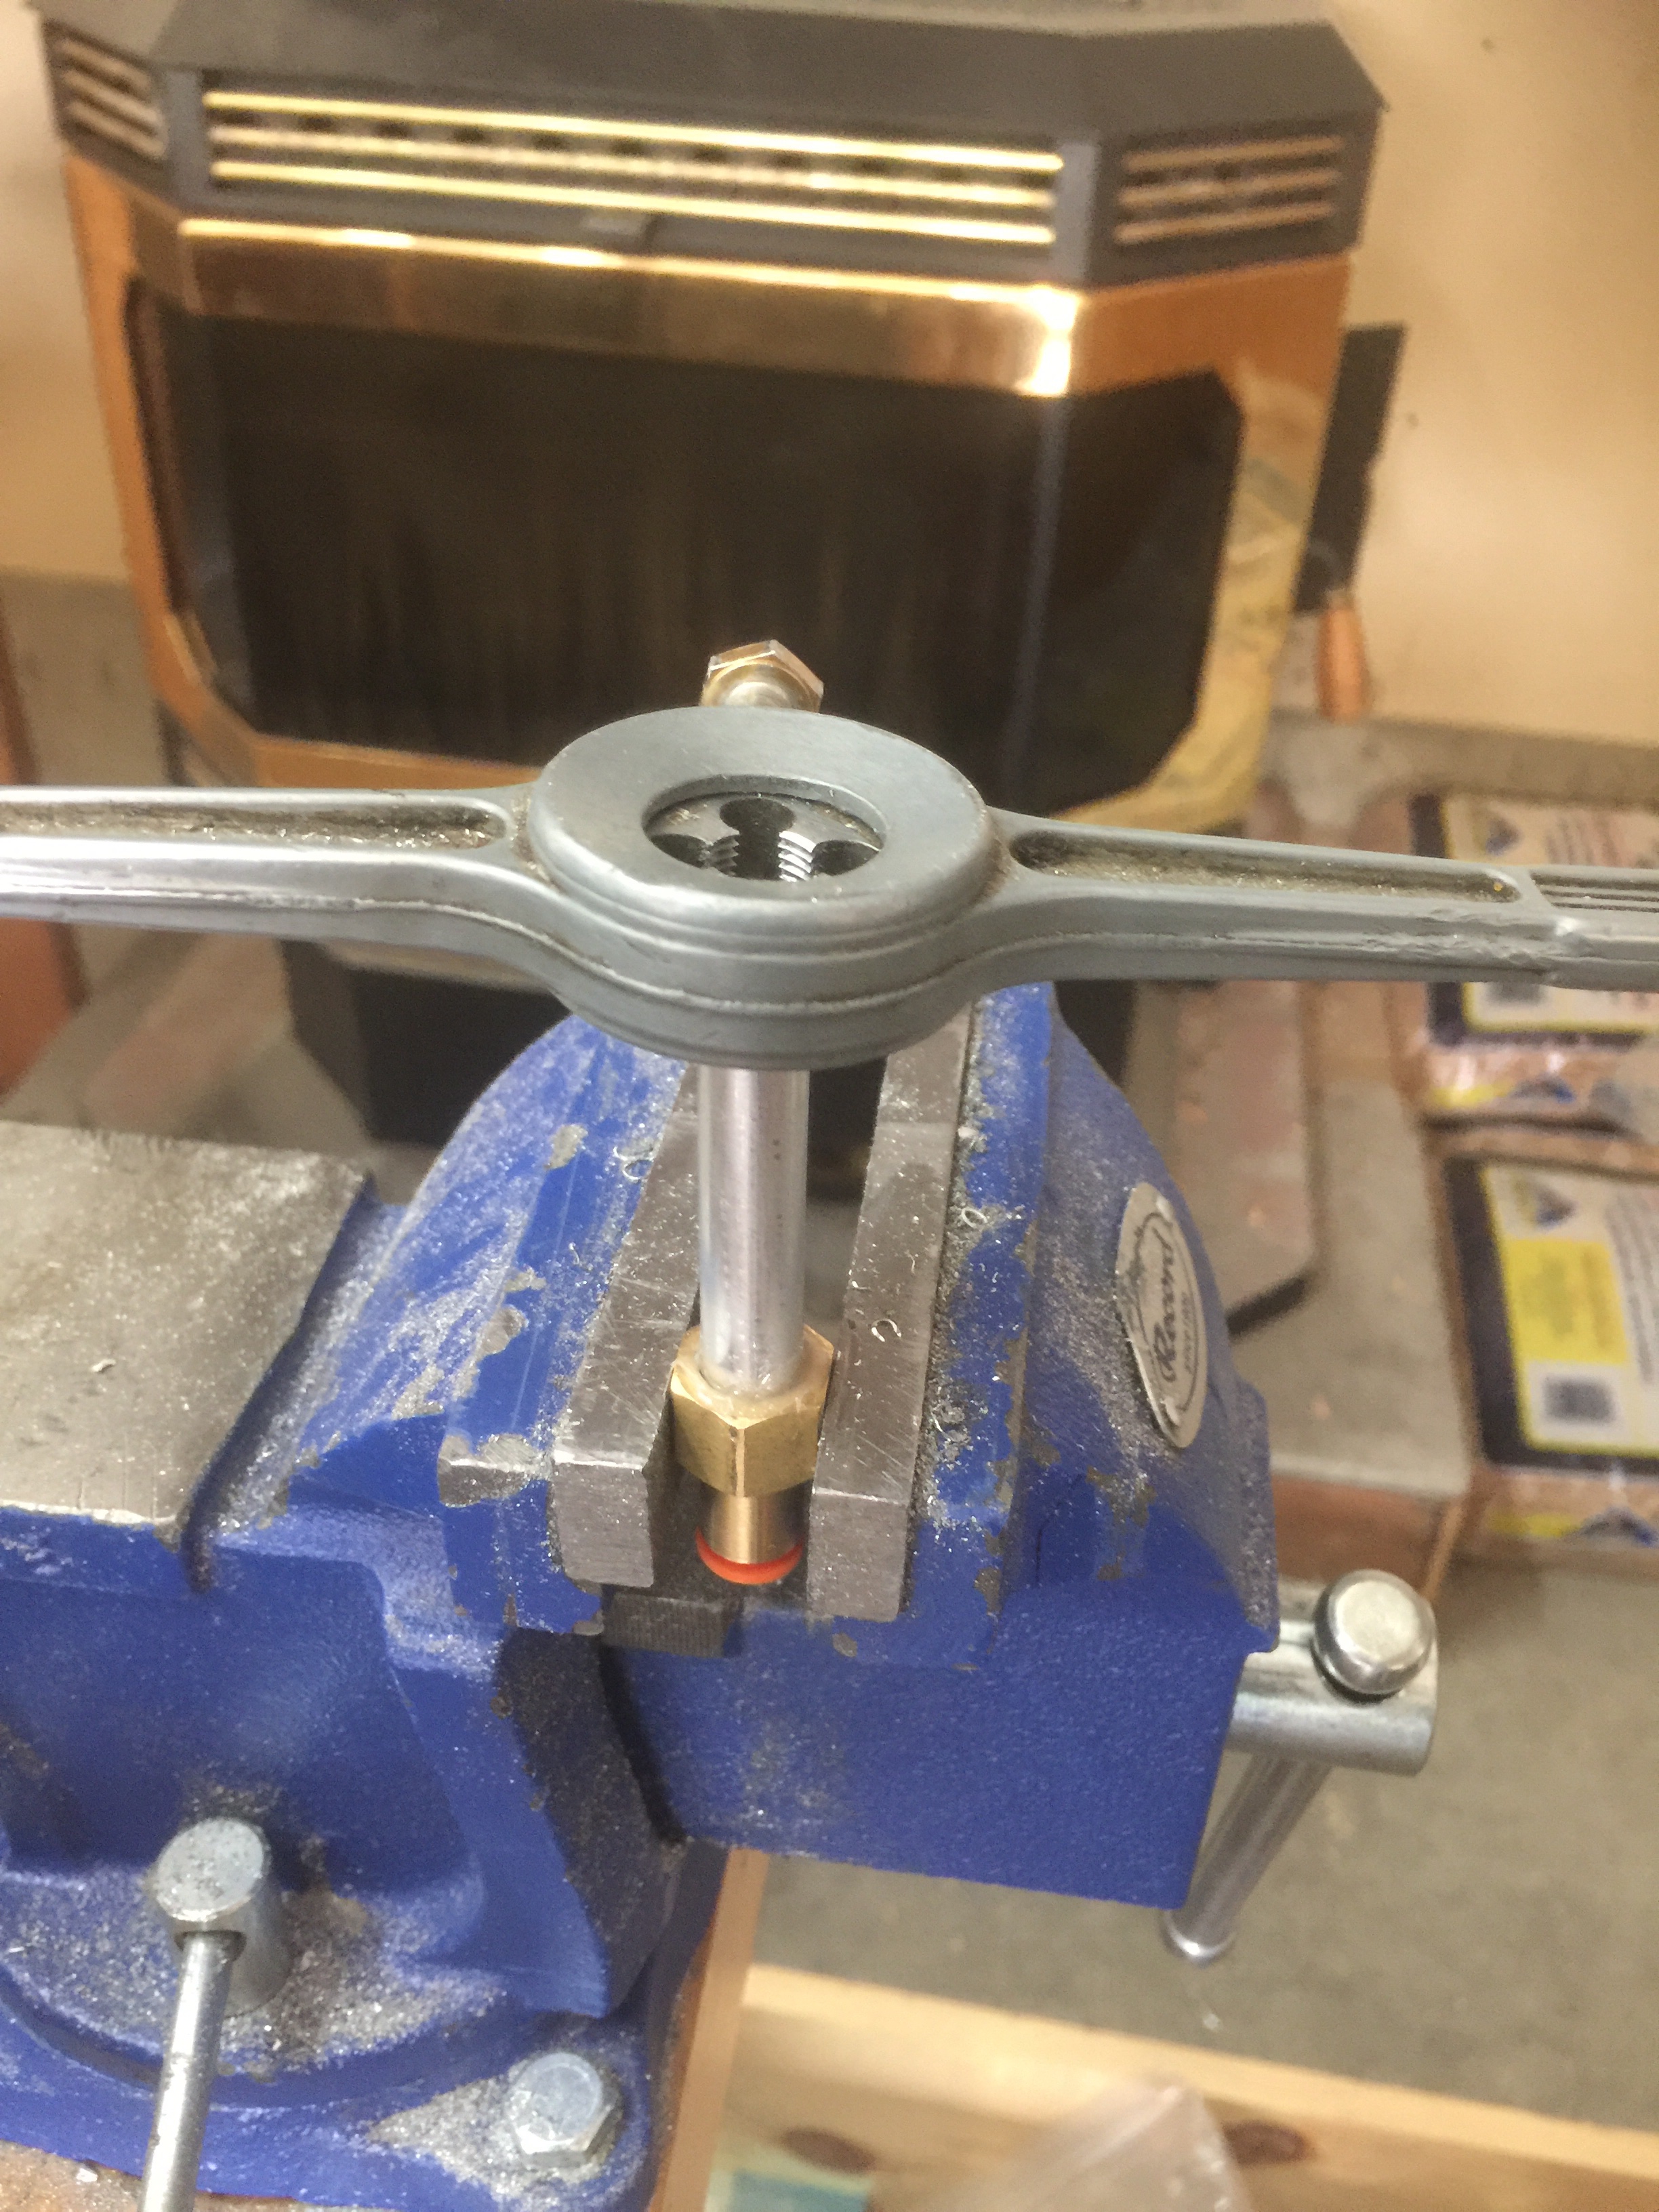
Time: 10 hours.
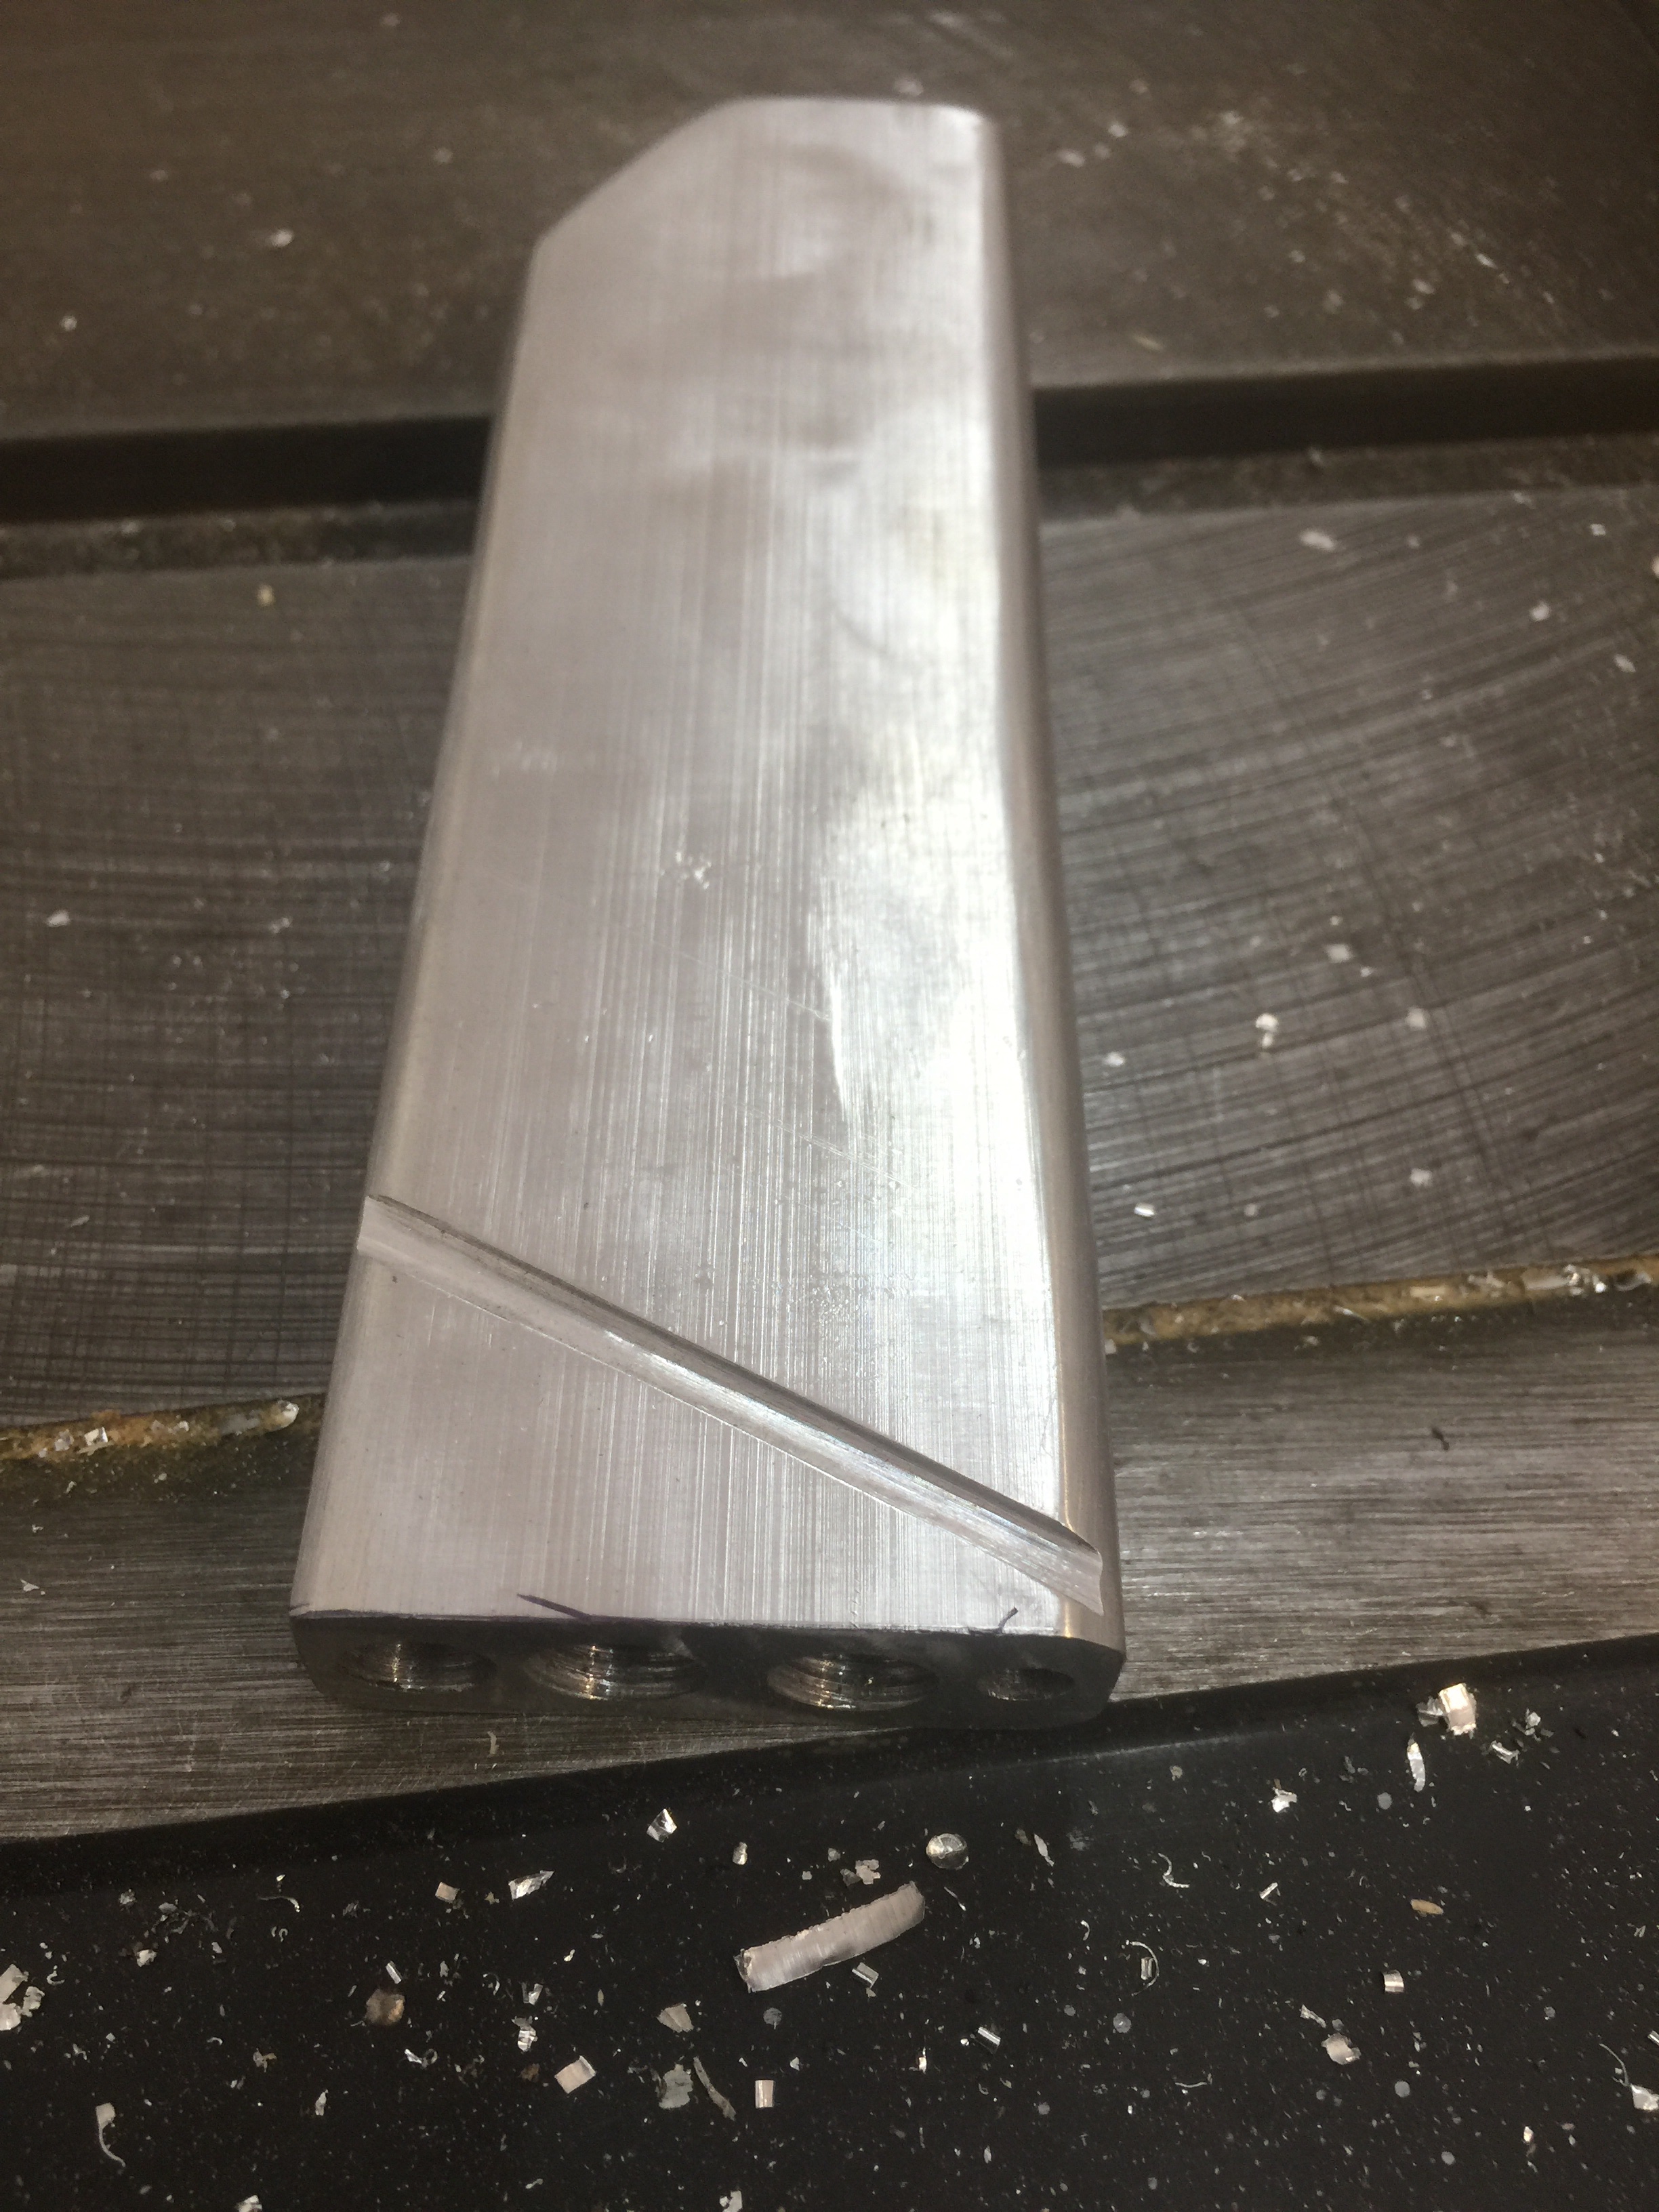
Final trim of wheel fairing mounting plate buildup. Dimpled bottom center skin wing mounting holes. Added bottom countersunk platenuts to wing.

Time: 4 hours.
I installed the WD-610 control column, WD-611/WD-612 control sticks, and F-665 control column pushrod as shown on DWG 38. I used the W-730 bellcrank jig to hold the WD-421 bellcrank in its neutral position as shown on DWG 15A. I installed and adjusted the W-818 aileron-to-bellcrank pushrod such that the aileron was in the neutral position when the bellcrank was held in its neutral position. I installed and adjusted the W-716 bellcrank-to-stick pushrod such that the sticks were in their neutral positions (vertical) when the bellcrank was held in its neutral position.


Time: 4 hours.
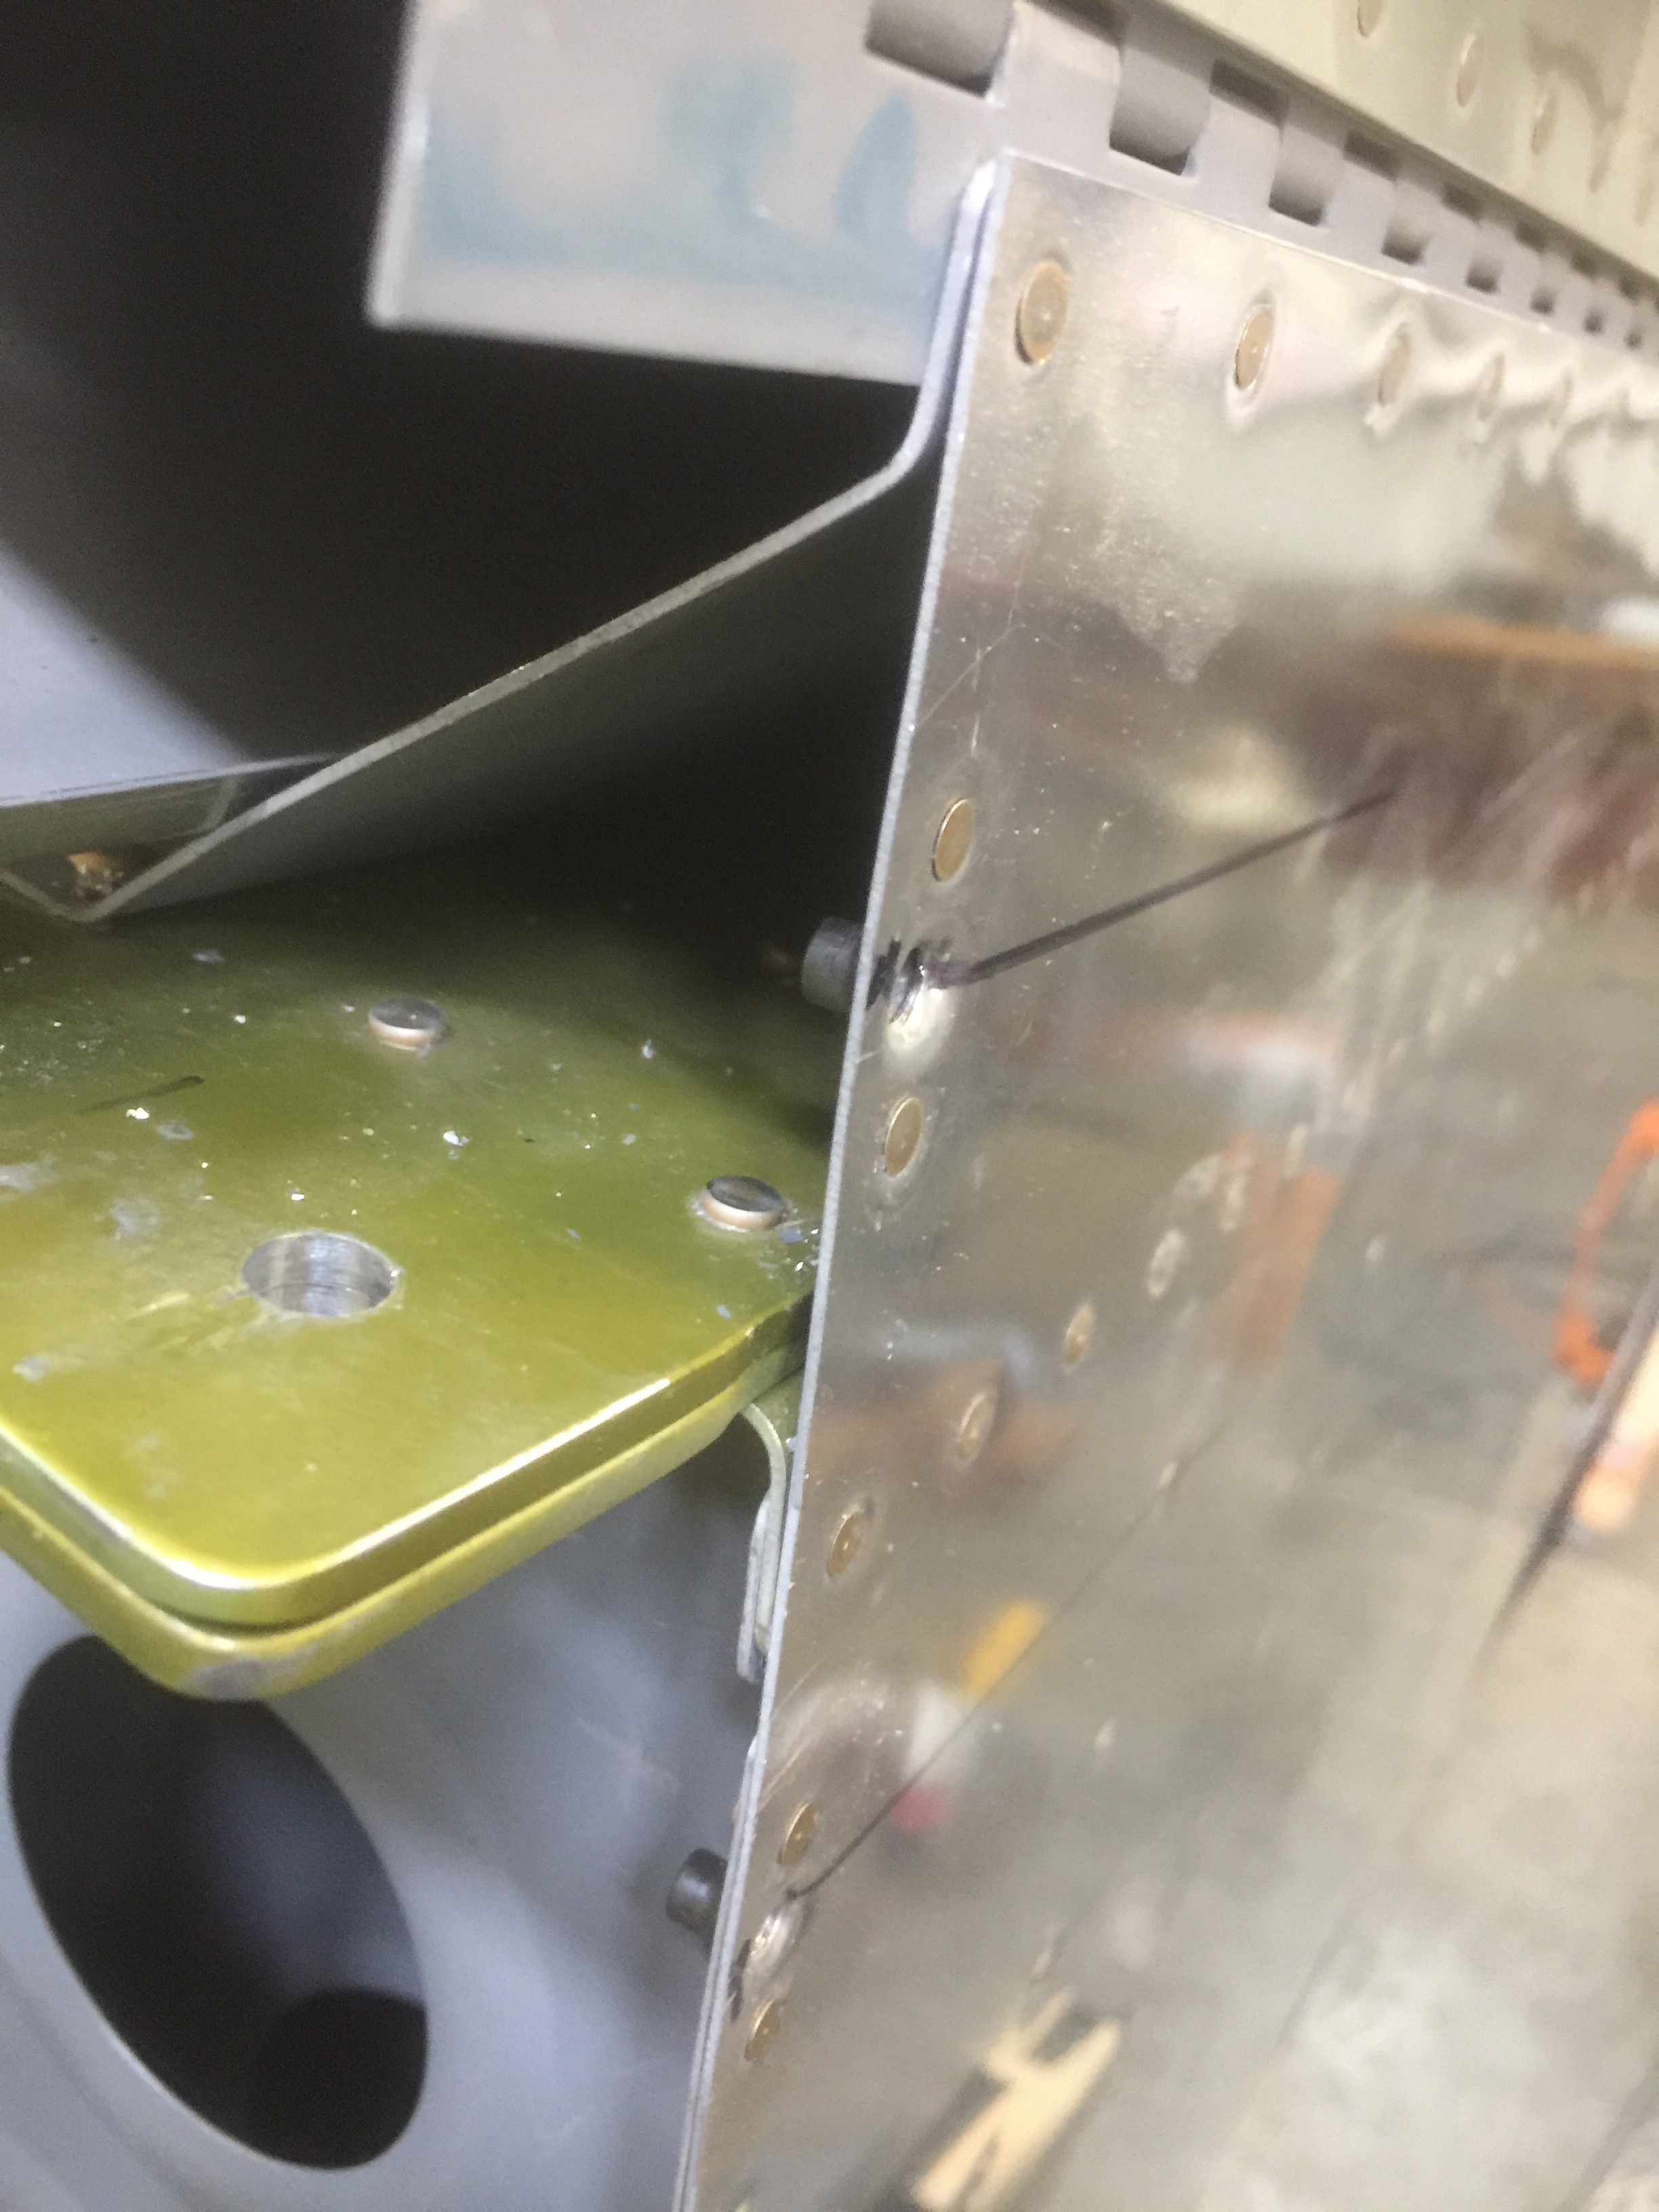
I installed the F-799 wing root fairing as shown on DWG 38, Wing Root Fairing Installation Detail, and Section G-G.

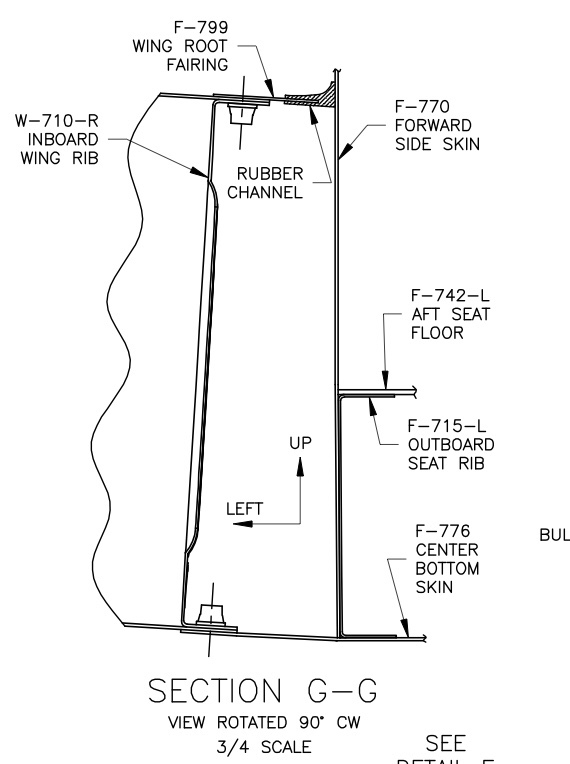
Time: 4 hours
I assembled the F-759 flap pushrods as shown on DWG 33.


I bolted the F-759 to both the flaps and the Wd-605EF flap control weldment. I borrowed a battery from my lawn tractor and connected it to the flap motor. I ran the motor up and down while checking for any possible interference in the flap linkage. The hole in the fuselage skin was enlarged to avoid interference with the pushrod.
Time: 4 hours.
After the F-796A was bolted, temporarily, to the fuselage, the clamp could be removed. I located the center of the 1/4” hole on the flange of the angle, double checking to be sure that there was sufficient edge distance on both T-405 and F-796A. I drilled the 1/4” hole through T-405.
I finished the bracket installation after the wings were removed by installing the nutplate on T-405 as shown in DWG 38 Detail F and Section E-E. I noted the orientation of the platenut as it was important.


Time: 8 hours.
