The next task is building the elevators. The left and right elevators are different because the left elevator incorporates a trim tab.
I did the right elevator first. The stiffeners are formed and back riveted to the skin. This is difficult for the rivets closest to the crease, but the skin is just temporarily deflected back just enough to set the rivets. The spar and end ribs and the counterbalance rib are assembled together with the counterbalance.
One caution to the wise: The forward spars E-702 are not marked left and right, but they ARE different! You must reserve the spar with the off-center hole towards the bottom for the left elevator. This hole provides clearance for the tail screw of the trim servo, and of course I got it wrong and didn’t discover it until the skin was riveted onto the frame of the right elevator. So I had to drill another hole and put in a reinforcing plate to cover the misplaced extra hole. Vans really should mark the spars as left and right!
The skin now needs to be bent to the final shape. This is done by making a homemade break out of two 2×4 boards united with several hinges. The skin is put between the two boards and a 1/8″ rod is placed in the crease of the skin to provide a minimum diameter to the bend. A lot of pressure is needed to make the bend and it has to be done in several steps.
The skin is then riveted to the spar and rib assembly to complete the elevator.

Time: 6 hours.
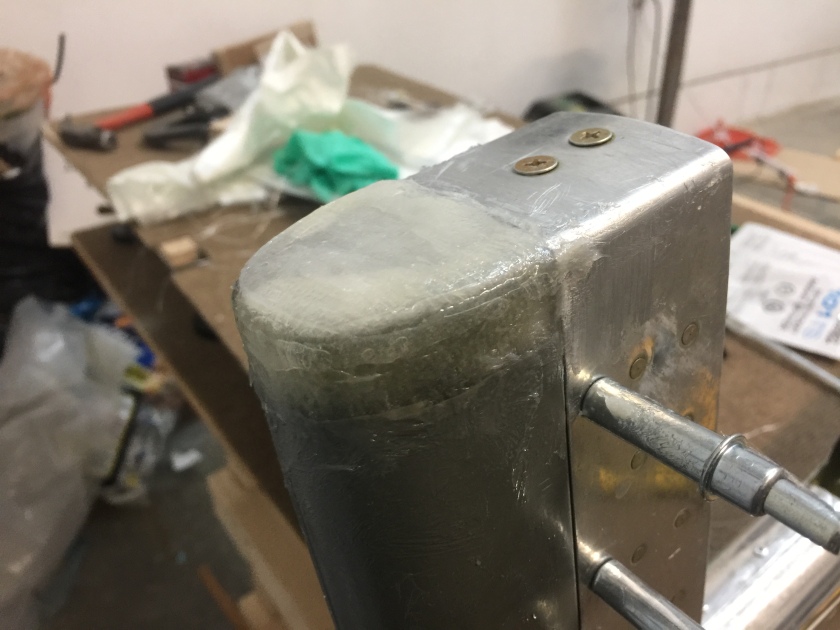
 I also glued backing washers on the inside of each hole in the fiberglass to make the rivets more secure.


 After this paint booth hiatus, things began to move quickly.


