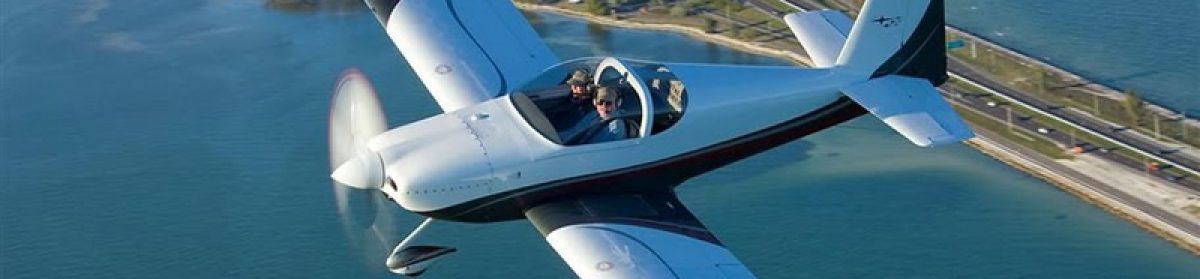
The tank is riveted together just like any other structure with one very important difference which is that sealant is applied between the parts to any seam through which fuel could conceivably leak including every rivet. I roughened all the mating surfaces using a scotchbrite pad. I scored the aluminum well, so the sealing compound will have more surface to grip. I cleaned the manufacturing residues and oils off all the rivets by sloshing them in a jar of solvent and drying them on a clean rag. I cleaned the mating surfaces of the skin, stiffeners and ribs including every surface that the sealer is applied to. It was essential that the surface of the aluminum be clean when the sealer was applied. Not just kind-of-clean or clean enough. Clean. After cleaning, I was careful to not pollute the areas to be sealed. I didn’t even touch them because oils from my skin would affect the bond of the sealant. The tank sealant was mixed as accurately as possible. This was done by weight following the instructions supplied with the sealant. When mixing sealant, I did not mix too much at one time. A batch the size of four or five golf balls was usually enough for one work session. The sealant provided 45 to 90 minutes of working time. I measured weight as accurately as possible and mixed it thoroughly before applying. In order to use the sealant as soon a possible, I had all the work well planned and the tools all laid out. I had the container of Xylene nearby for the frequent tool cleanings that were necessary during riveting. I was able can peel away overflow on areas that I wanted to keep clean by strategically applying plastic tape before spreading the sealant (such as along the areas of the skin that had to mate flush with the wing spar or splice plate). After thoroughly mixing the sealant, I used Popsicle sticks to apply an approximately 1/16″ thick layer to the parts being riveted. In the first work session I riveted on the stiffeners. Back-riveting worked well here, so I spread a thin layer of sealant on the inside of the skin, covering the area the stiffener will contact, and then inserted the rivets into the skin from the outside and taped them in. Then I pressed the stiffener into place. The sealant oozed out around all the stiffener edges. When the stiffener was firmly seated, I back riveted it permanently into place. Even more sealant squeezed out as the rivets set. I cleaned this away, making neat fillets around all the edges of the stiffener with the curved end of the Popsicle stick. Then I dabbed a bit of sealant over every rivet head.
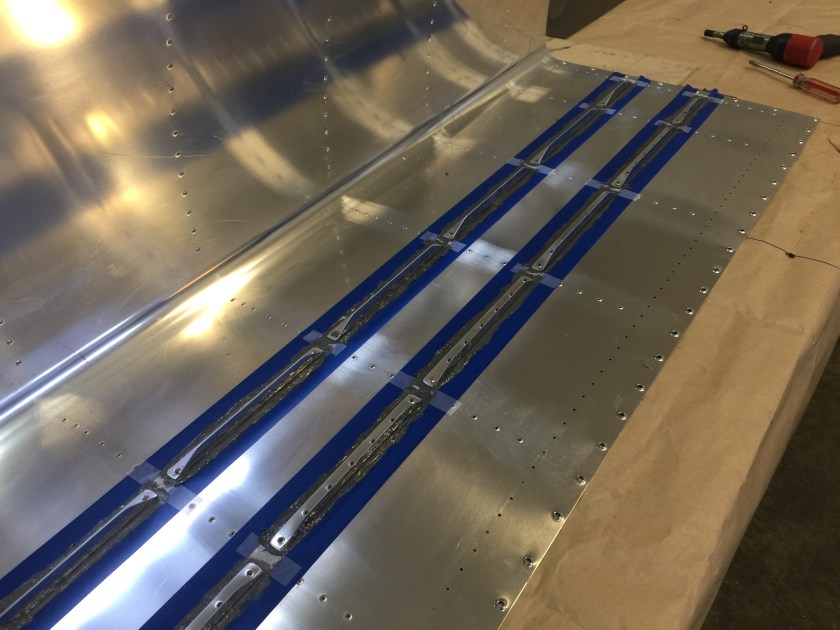

I riveted the drain flange, fuel cap flange and clip to the skin, using sealant in the same way.

I covered the aft tooling holes in the outboard end ribs by riveting on a small plate. After each session I cleaned everything that I did not want to have a permanent coat of sealant. It was much easier to clean up before the sealant set.
For the next session, I riveted all the interior ribs to the skin working in the “cradle.” When assembling the tank, I clecoed all ribs to the skin to keep the assembly straight. I started riveting with the rib next to the outboard one. After this rib was clecoed in place with sealant I could remove the outer end rib for easy riveting access. I removed the ribs one at a time, applied sealant, and then riveted. When riveting the ribs to the skin I worked from the leading edge to the trailing edge. I inserted the rivets and set them with a squeezer or a rivet gun, as appropriate. I used the Popsicle sticks to form the squeezed-out sealant into fillets in the rib/skin joint. I applied extra sealant to the rivet heads.


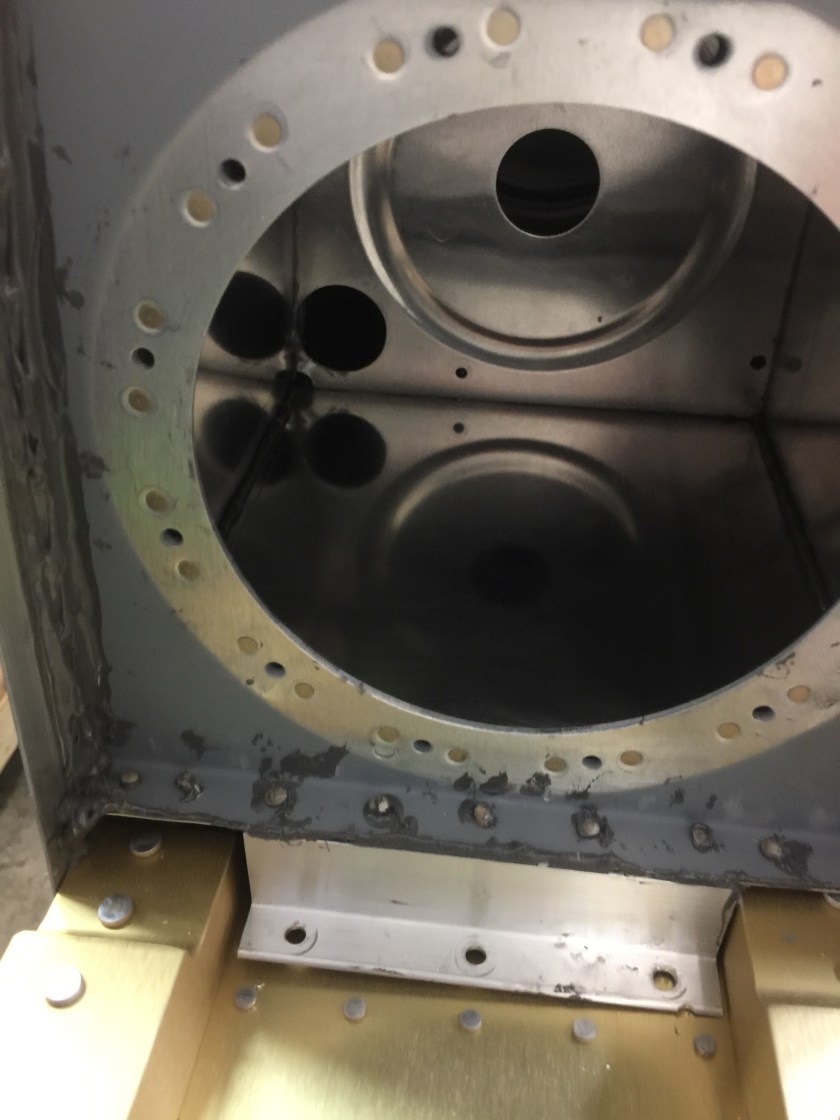
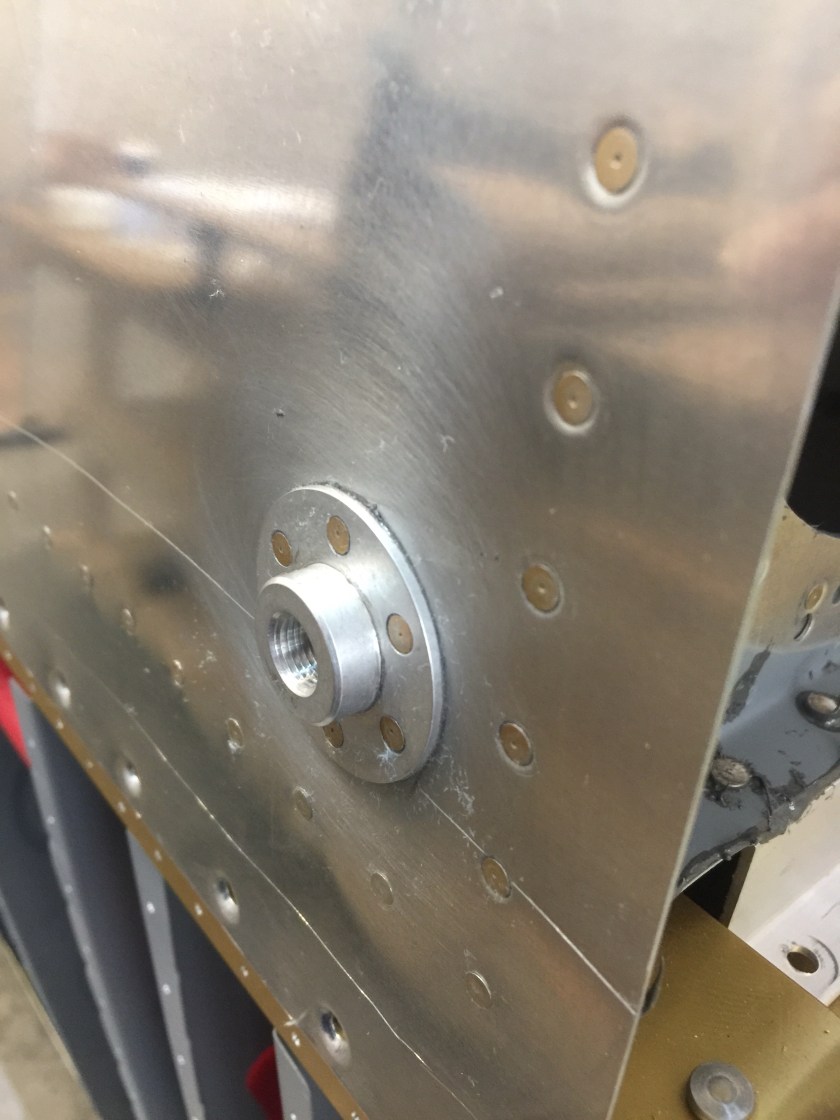
Next, I installed the inboard end rib. After the rivets joining this rib to the skin were squeezed, I installed the bracket and the nose reinforcing plate (fitted to the inside contour of the skin) on the leading edge of the inboard end rib. I put a thin layer of sealant on the sealing surfaces. I then sealed and riveted the other nose reinforcing plate to the outboard end rib used six rivets. I applied a generous fillet of sealant around the inside of the end ribs where they joined the skin, particularly at the very leading edge. Also I made sure the outboard end rib aft tooling hole had been sealed. Finally, I cleaned excess sealant from the rear of the ribs and skin where the baffle would later rest and cleaned sealant smeared on the outer surfaces.
Time: 8 hours.
